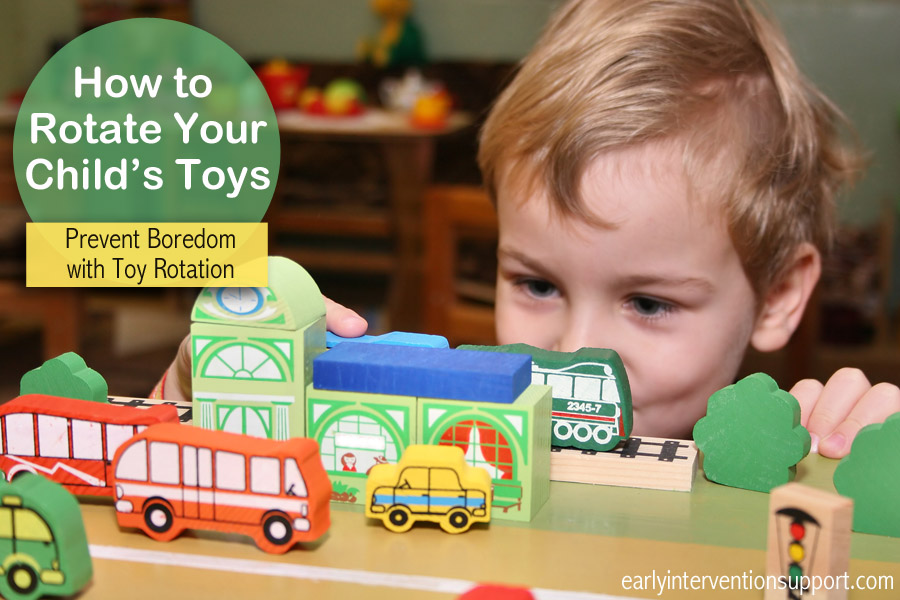
Have you ever wondered why your child gets bored with his or her toys? Often even after the holidays when your house may have an abundance of new and exciting toys, children still tend to lose interest in toys after a few weeks. So, why does your child becomes bored with his/her toys so easily? And how can you help your child become more engaged in the toys you already have?
First of all, we know that children learn through playing and new experiences. Children learn as they figure out how to use a new toy or as they explore new ways to play with an old familiar toy. When children always have access to the same toy options, they may lose interest in their toys and stop trying to play with them. Why? Because, these toys have become too predictable and frankly, boring. So you could buy your child new toys every few weeks (who wants to do that?!) or you could try out toy rotation. Utilizing a system of toy rotation is one way to help prevent children from becoming bored with their toys. Toy rotation may also help encourage your child to stick with one toy for longer periods of time and increase his/her attention span.
Toy rotation is a technique that I regularly used when I was a teacher in a toddler classroom. Every two or three weeks, I would remove some toys from the classroom and replace them with other toys from the child care center’s toy closet. For me, toy rotation was a fairly easy process because the school provided us with a variety of toys and I was able to pick toys based on my classroom theme and the children’s interests. As you’re reading this, the thought of keeping up with toy rotation at home may be overwhelming. However, you can make toy rotation easy and doable in your own home! So where do you start?
-
First, think about creating a defined play space for your child. Where does your child usually like to play? It may be his/her bedroom or a corner of the living room. It will be much easier for you to rotate toys in and out of a single defined play space as compared to several different rooms of your house. Plus, a defined play space may help your child focus and remain engaged in play for longer.
-
Next, gather your child’s toys into the play space and organize toys by play category. You could try making piles of toys into categories such as: building toys/blocks, cars/trains, animals, pretend play, number/shape toys, musical toys, and puzzles. Ultimately, you can chose whatever categories best match your collection of toys! If you have larger toys like a kitchen or train table you can chose whether or not you’d like to include these in the toy rotation as well.
-
Next, chose 1 or 2 toys from each category to keep out in the child’s play space. Aim to have anywhere from 8-12 toys out in the child’s play space so that the child can freely and independently access these toys while playing.
-
Then, pack away the extra toys into labeled rubber bins or old boxes (a good use for all of those diaper boxes) and place them out of sight in a closet, basement, or laundry room.
-
After 1, 2, or 3 weeks rotate the toys by removing the current toys and replacing them with new options from the boxes/bins that you previously organized.
These steps are basic guidelines for how to try a toy rotation system in your home. Keep in mind that there is no right or wrong way to do toy rotation! There is no need to follow an exact schedule of which day you will rotate your child’s toys. Be creative, resourceful, and make it work for you and your child! Remember to have fun!
By: Ashley Russo, MEd Developmental Specialist